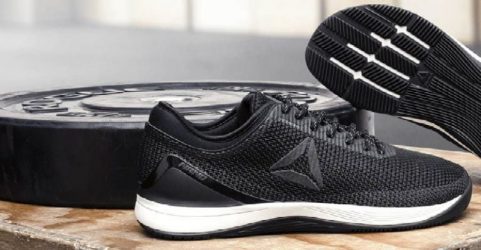
Whenever you buy new shoes you may face different issues related to the damaging of them. However, damaging the shoe not only depends on the quality of the shoe but also on how you use it. When you wear a shoe or boot you mostly face damaging issues from the downside sole of the shoe. Though every time heel does not break there is always a condition behind this. Here is a question that how we can save our feet wear from damage or in any case it damages how to fix the heel of a boot?
How to fix, it is the second step, first, we should keep them safe HOW? Here we’ll discuss.
How to Save Heels of Boots?
Table of Contents
As I mentioned up there, whenever we face the issue of damaging the shoe there is always a condition. The main reason for the breaking of the heel is the slipping of the shoe. Whenever a shoe slips it turns in such a way that might be lead to the breakage or damaging of the shoe. Mostly the slipping case occurs when the shoe is un-fit especially larger in size. So while buying a shoe make sure that, the shoe is neither too tight nor loose. Otherwise, you may face a controversial issue.
If your shoes are too tight you may put the piece of cotton at the side. Furthermore, rub the bottom of the shoe with any hardy material to make the shoe more consistent on the floor. In such case you if you feel even a small shuffle in your show fix that immediately because it may extend. You can use different glues and adhesive material to stick that shuffled part of the shoe.
To keep your feet wear in good condition, don’t use them irrespective of surface i.e. Heels of Concorde, dress shoes on a grassy surface, boots for jogging, etc.
How to Fix the Heel of a Boot by Replacing Sole
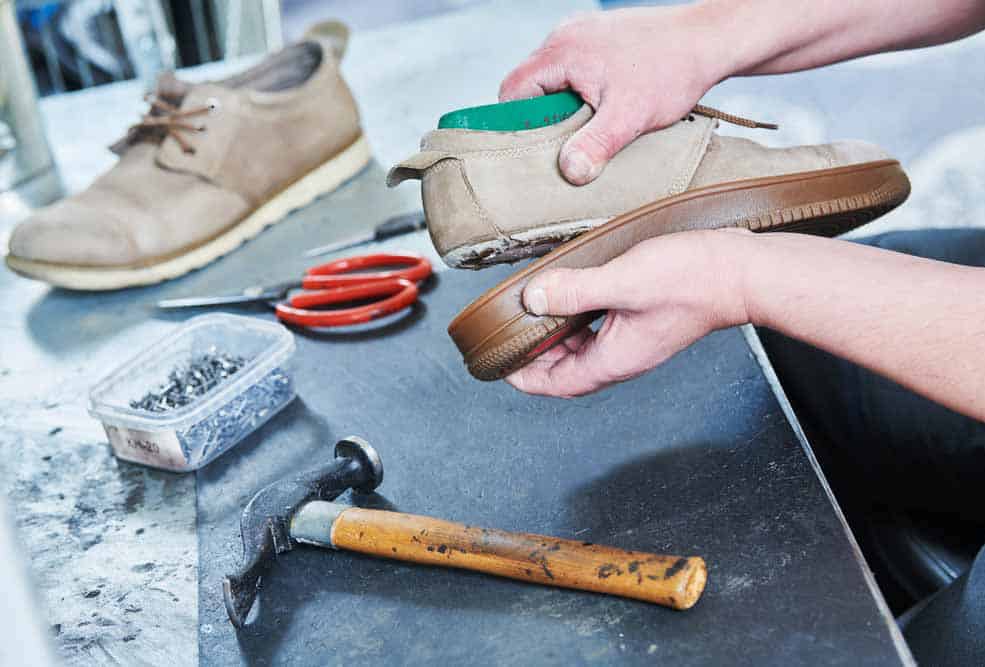
Soles are such a part of the shoe that is used most. As it got too thin, it needs to be replaced. Or if your sole starts getting loose, I guess have to remove the entire sole from the show. You may use mini tools for this purpose or hold your shoe firmly and pull out the soul from its edge. If your sole is not coming out easily you may use a knife or any sharp tool for this, but make sure that tool is not damaging the shoe.
- However, soles? are attached with the adhesive material or glue, you may use the heat gun or hair dryer to warm the glue which makes the removal easier.
Repairing of the Sole
Sometimes your soles damages but not as much that you have to remove that, you can them by just a little bit repairing. You can reattach the sole with the adhesive material. Make sure that the boot heel is clean and completely dry. Otherwise, the glue will not completely settle on the surface. Then apply the required amount of glue in between the sole and the shoe. And spread that glue around the rip of the damaged part of the heel; ensure that glue is not coming out. After that gently press the heel particularly that area that is damaged, and let it dry for the next 24 hours. However, drying depends on the factor of temperature, adhesive material quality, and shoe material.
By Replacing the Damaged Area
If your sole is a little bit damaged you can use duct tape on that. Yes, you heard right, it’ll work, in just a case that if it is a little bit damaged. Use duct tape inside the shoe, because outside it may because of slipping of the shoe. First remove the inside sole, clean and dry the bottom of the shoe, and put the duct tape where required. Press that gently and again put the sole on that.
Fill the Damaged Area with Sole Adhesive
If there is a hole in your bottom sole or heel you may repair that by filling that adhesive material in that but make sure that glue is not sticking to your hand. Or we may cover your wand by wearing a glove or such other thing to protect your hand. Gently fill that hole with the glue try to put just that amount of glue that is required. If some amount of overflow commonly happened so don’t worry about that, we may remove the extra amount of glue after the drying of that.
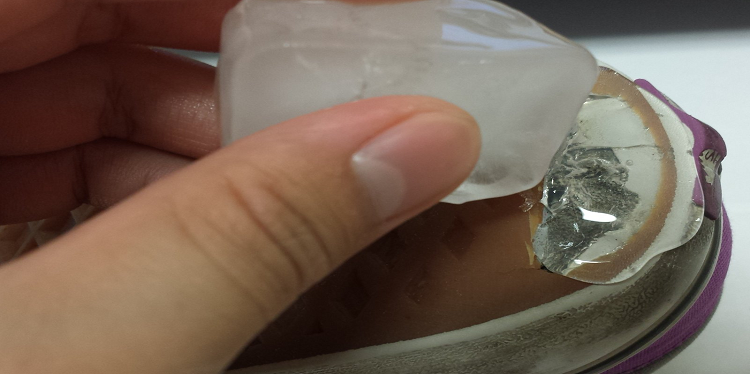
Smoothen your Shoe Surface with the Ice cube
Whenever you repair your shoe with the glue there are quite chances of overflowing or becoming an irregular surface which will cause irritation. To smoothen such a surface you may use an ice cube. It seems funny but it actually works. Just rub a piece of the ice cube on that particular area. After that leave your shoe for a night and let that dry completely before using it.
Smoothen your Shoe Surface with Sandpaper
Sometimes adhesive material becomes so hard that is unable to remove by just using an ice cube. We can also remove such material by using sandpaper. You have to just rub that sandpaper on the surface but ensure that you are not rubbing too much that your bottom sole also got peel off.
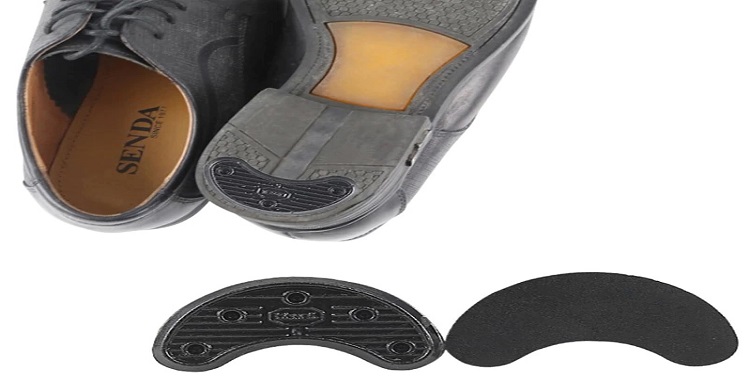
Use Anti-Sleep Rubber Heels and Soles
As we discussed up there, sometimes we have to replace the entire sole of the shoe. In such a case make sure that you are using anti-slip and sandpaper type material to protect your shoe from slipping. As the main cause behind the slipping off is too much smooth bottom sole. If you use such a sole, it will have more grip on the floor.
Conclusion
We discussed different faces of repairing the bottom or heels of the shoe. I think you got the answer to that question which was in your mind before reading this article like How to fix the heel of a boot? Or how to protect our shoes. Anyhow this depends on us that how we deal with it and how we use the shoe. We can face many such damaging issues just make sure that the surface is completely dry and clean before repairing that.
If you found this article helpful, give us your feedback below in the comment box.?
Good Luck?
Team – ShoesImpact
Related Articles